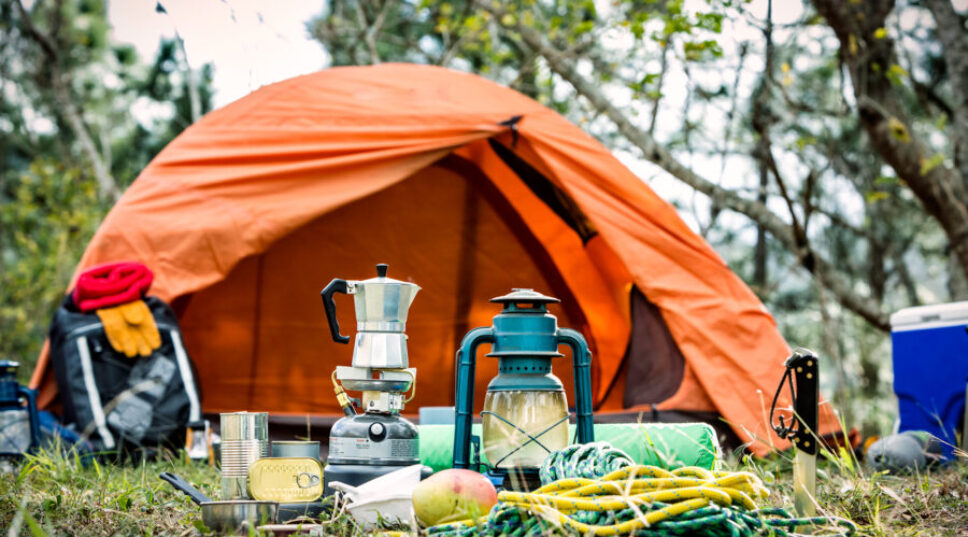
Camping offers a unique opportunity to connect with nature, but it requires essential survival skills to ensure a safe and enjoyable experience. This guide focuses on the top three basic survival skills you can practice right in your backyard: setting up shelter, purifying water, and building a fire. Mastering these skills at home will boost your confidence and preparedness. By practicing in a controlled environment, you’ll develop the knowledge and muscle memory needed to handle unexpected challenges in the wilderness.
1. Setting Up Your Home Base: Mastering Tent Pitching
A properly set up tent protects you from the elements, provides a sense of security, and serves as your base of operations during a camping trip. Being able to pitch your tent quickly and efficiently can be crucial, especially if you’re racing against incoming bad weather.
Step-by-Step Guide to Tent Setup in Your Backyard
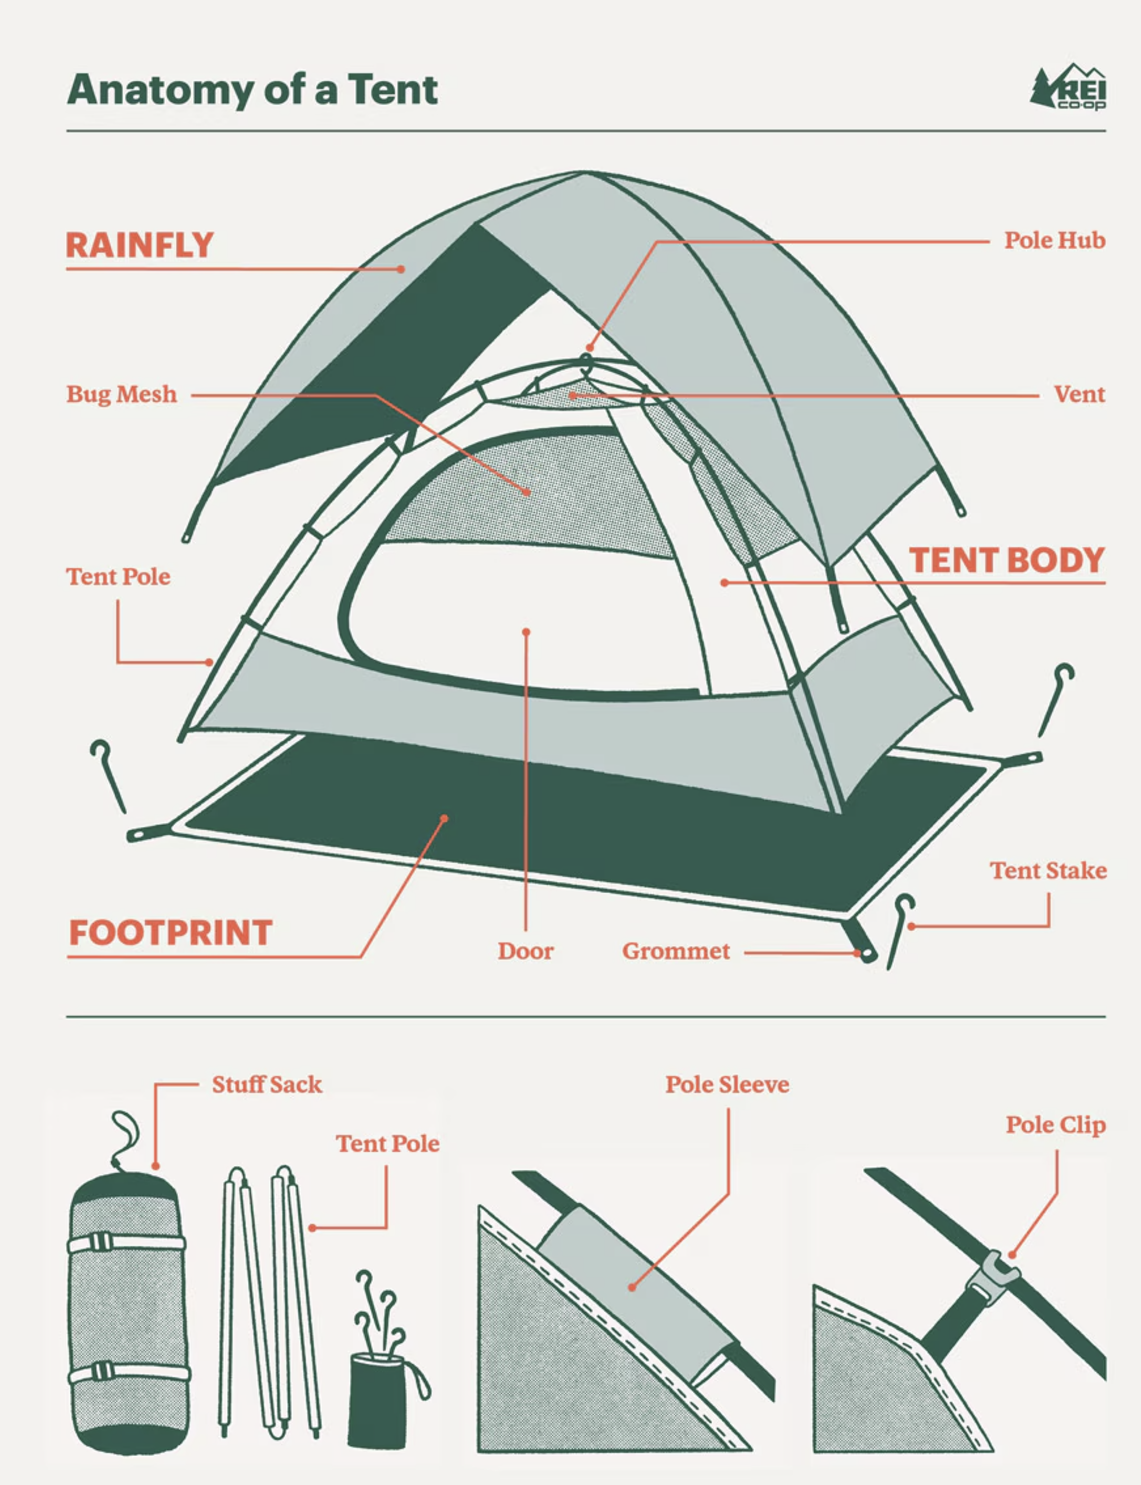
Before you start, lay out all parts of your tent to familiarize yourself with the tent components:
- Tent Body: The main fabric structure that forms the walls and floor.
- Rainfly: A waterproof cover that goes over the tent to protect it from rain.
- Tent Poles: Collapsible rods that give structure to the tent.
- Stakes: Metal or plastic pegs used to secure the tent to the ground.
- Guy Lines: Ropes used to provide additional stability by anchoring the tent.
Keep in mind that each tent model may come with specific instructions from the manufacturer. The following steps provide a general guideline applicable to most tents, but always refer to your tent’s manual for any unique setup requirements.
Now that you’re familiar with your tent’s components, let’s get started with setting it up:
1. Choose Your Location
- Head to your backyard and find a flat area free from rocks, sticks, or other debris. This will help ensure a comfortable sleeping surface.
- Avoid areas with overhanging branches to prevent potential hazards during windy conditions.
2. Lay Out Your Tent
- Unpack and spread out your tent on the ground. Make sure the door is facing away from prevailing winds or towards a nice view for easy access.
- Ensure all components are accounted for and familiarize yourself with how they fit together.
3. Stake It Down
- Use tent stakes to secure the corners of your tent. In soft ground, angle the stakes away from the tent for better hold.
- If you’re practicing on a hard surface (like concrete), consider using weights or heavy objects to hold down the corners instead.
4. Assemble the Poles
- Connect your tent poles (those collapsible rods that give structure to the tent) according to the manufacturer’s instructions.
- Carefully slide the poles through the designated sleeves on the tent body or attach them to the clips.
- Ensure the poles are fully extended and securely connected, creating the basic frame of your tent body.
5. Raise the Tent
- Insert the assembled poles into the designated slots on the tent body.
- Gently lift and spread the tent body, allowing the poles to create the tent’s shape.
- If you’re using a freestanding tent, ensure it stands upright securely before moving on.
6. Secure Guy Lines
- Attach the guy lines (the ropes that provide additional stability) to the designated points on the tent body and rainfly.
- Stake these lines into the ground at an angle, pulling them taut to provide extra support.
7. Add the Rainfly
- Take the separate waterproof rainfly and drape it over the top of the tent body.
- Secure the rainfly’s attachment points to the tent body or poles.
- Ensure the rainfly covers all openings properly to prevent water entry during simulated rain conditions.
To make it more challenging, time yourself setting up and taking down your tent in your backyard. Try to improve your time with each attempt. Challenge yourself by doing it in low light conditions or while wearing gloves to simulate different camping scenarios.
Safety Precautions
- Always read and follow the manufacturer’s instructions for your specific tent model.
- Be careful with tent poles, as they can be sharp or pinch fingers when assembling.
- Ensure you have enough space around your setup to avoid tripping hazards or damage to nearby plants.
2. Staying Hydrated: Water Purification Techniques
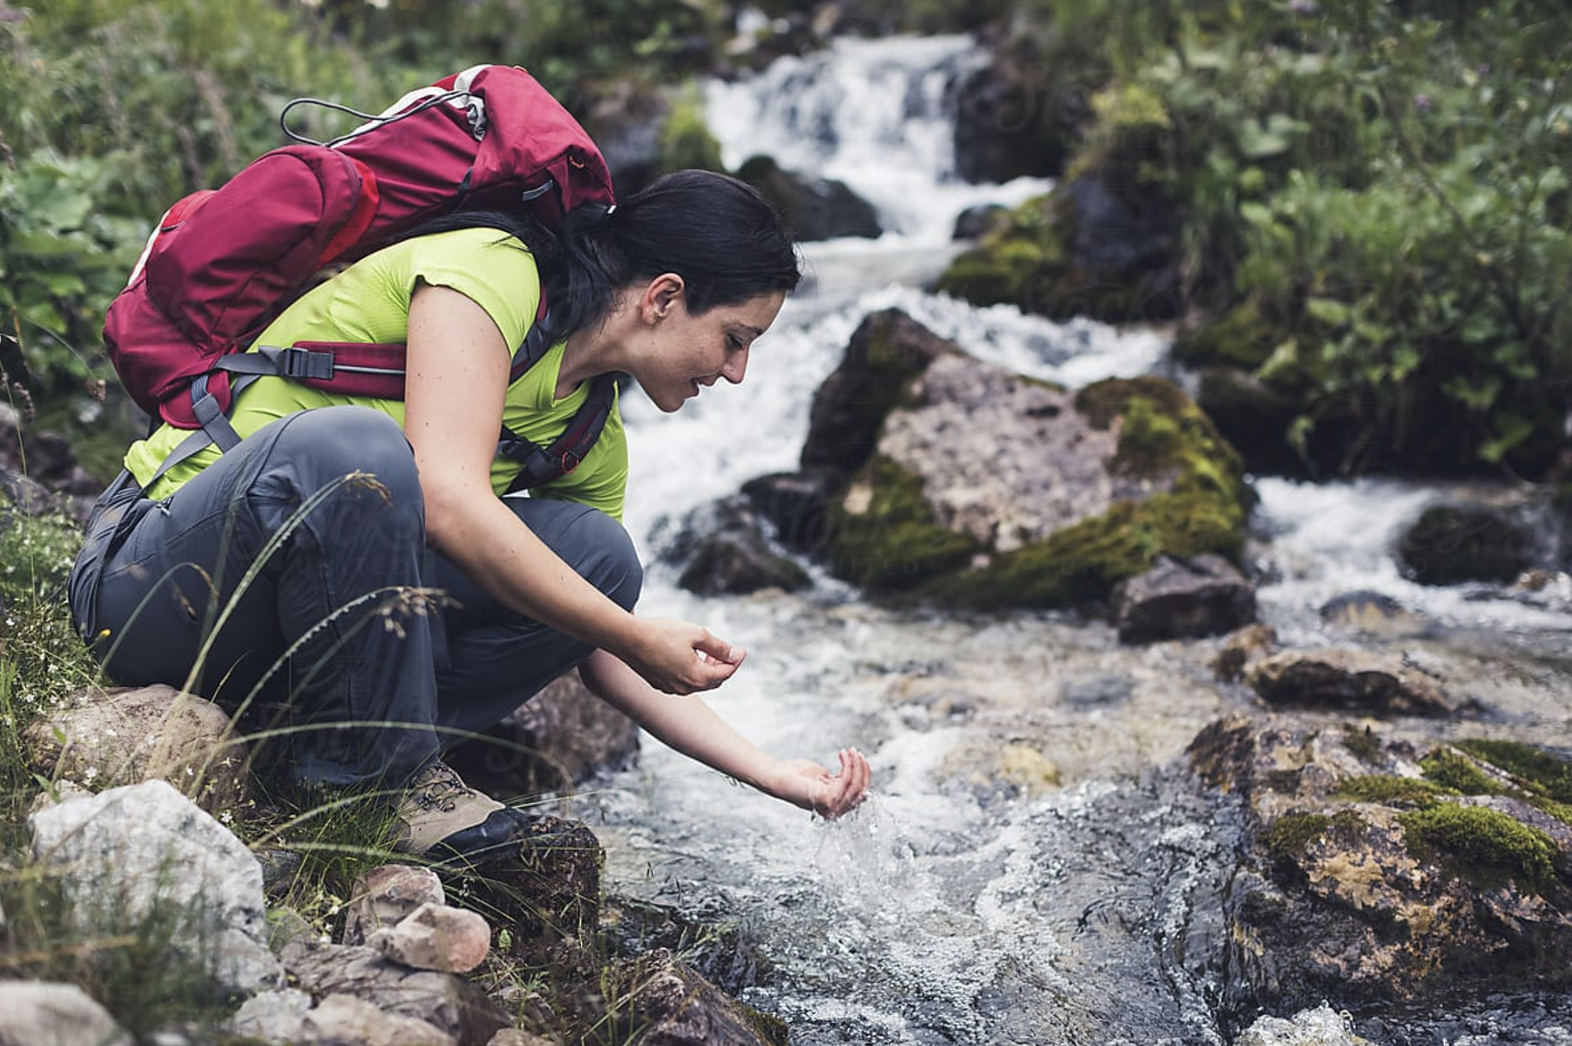
Access to clean drinking water is crucial for any camping trip. While filter bottles and water purification tablets are straightforward methods that simply require following manufacturer instructions, this section will focus on the most reliable method for purifying water. And that is boiling water
Prioritizations of Water Treatment Methods
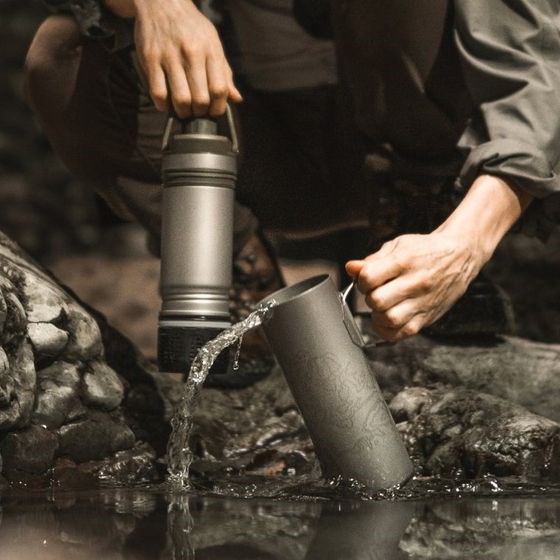

When deciding which method to use, consider the following priority:
- Filter Bottles: Convenient for day trips
- Water Purification Tablets: Excellent backup method
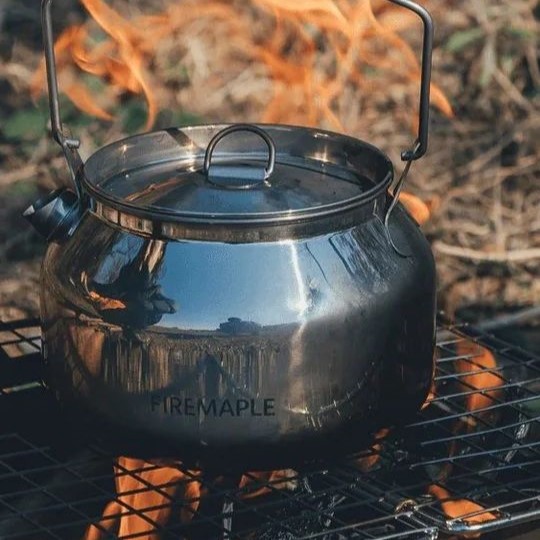
- Boiling Water: Most reliable primary method
Boiling Water
Boiling is the most reliable method for purifying water, killing bacteria, viruses, and parasites.
Preparation Checklist
- Metal Pot or Kettle: A sturdy container for boiling water.
- Grill Grate: To place over your fire pit, providing a stable surface for your pot.
- Metal fire ring: To support the grill grate above the fire pit and contain the fire.
- Fire Pit Setup (this will be covered in the next section)
- Heat-Resistant Gloves: To safely handle hot pots and manage the fire.
- Water Source: Collect water from a hose or rainwater for boiling practice.
- A bucket of water or a fire extinguisher to extinguish the fire.
Here’s how to practice this method at home:
1. Collect Water
- Gather water from a safe source in your backyard, such as rainwater or from a hose.
2. Set Up Your Campfire:
- Create a safe fire pit in your backyard using the metal fire ring, ensuring it’s clear of flammable materials (we will go in more depth in the next section)
3. Boil the Water
- Place the collected water in a metal pot or kettle and position it over your campfire. You can achieve this by using a grill grate set on top of the fire pit, supported by the metal fire ring (in the wild, you might have to look for some stones that can balance the grill if you choose not to carry a portable fire ring).
- Bring the water to a rolling boil, which means large bubbles are continuously rising to the surface and breaking. This is different from just small bubbles forming at the bottom.
- Maintain this rolling boil for at least one minute (or three minutes at elevations above 6,500 feet) to ensure all pathogens are killed.
4. Finishing Up:
- Once boiled, carefully remove the pot from the fire using heat-resistant gloves.
- Allow it to cool before transferring it to a clean container for drinking.
- Don’t forget to extinguish the fire when finishing.
Safety Precautions
- Avoid Burns: When boiling water over an open flame, use heat-resistant gloves or mitts to prevent burns.
- Contaminated Sources: Avoid collecting water from sources that may be contaminated, such as stagnant puddles or areas near animal waste.
3. Setting Up the Campfire
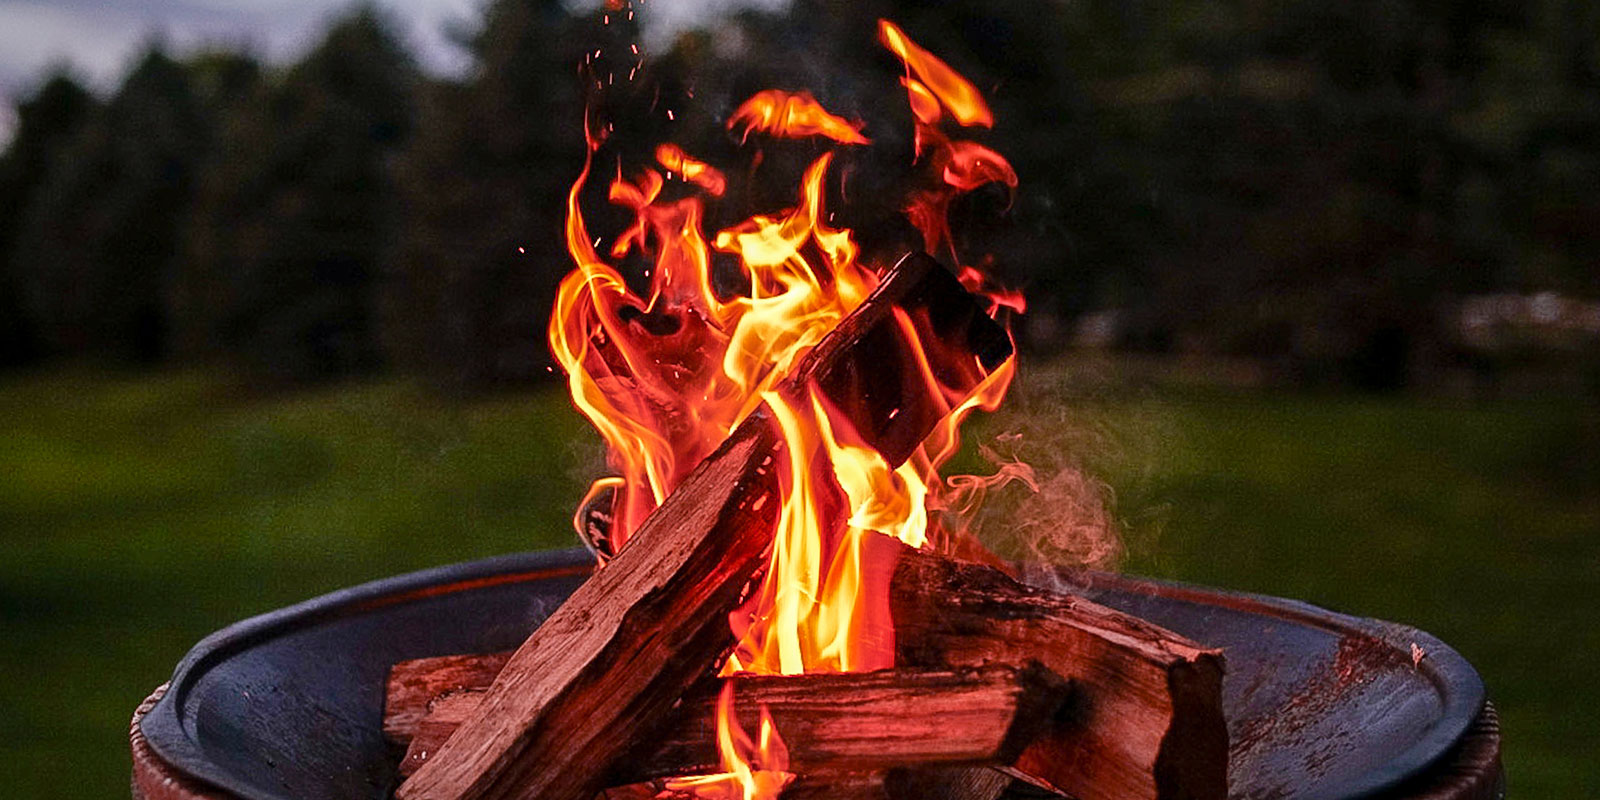
Building a campfire is an essential skill for any camping trip, providing warmth, light, and a means to cook food. Practicing this skill in your backyard will prepare you for creating a safe and effective fire in the wilderness. This section will guide you through the steps to set up a campfire, the different types of fires you can build, and important safety considerations.
Campfire Essentials
Before you start building your campfire, gather the necessary supplies:
- Tinder: Dry, flammable materials like birch bark, cotton balls, or paper that catch fire easily.
- Kindling: Small sticks, twigs, or wood chips that burn longer than tinder to help ignite fuel wood.
- Fuel Wood: Larger logs or split firewood that will sustain the fire.
- Matches or Lighter: To ignite the fire.
- Fireproof Container or Fire Pit: To contain the fire safely.
| Item | Practicing at Home | Camping in the Wild |
| Tinder | Shredded paper, cardboard, or dry leaves | Natural materials like dry grass, bark, or small twigs |
| Kindling | Small sticks or twigs collected from your yard | Small sticks and twigs found nearby |
| Fuel Wood | Purchase seasoned firewood from a local store | Gather larger logs and branches from the area (if permitted) |
| Fire starter | A lighter is the safer and more convenient option rather than a match which runs out faster. | |
| Fire pit | Metal fire ring or portable fire pit that can be bought in store or online | Large rocks or stones found nearby |
Preparing Your Fire Pit
- Choose a Safe Location: Select an open area in your backyard that is at least 15 feet away from structures, trees, or other flammable materials.
- Clear the Ground: Remove any grass, leaves, or debris in a 10-foot diameter around where you’ll place your fire pit.
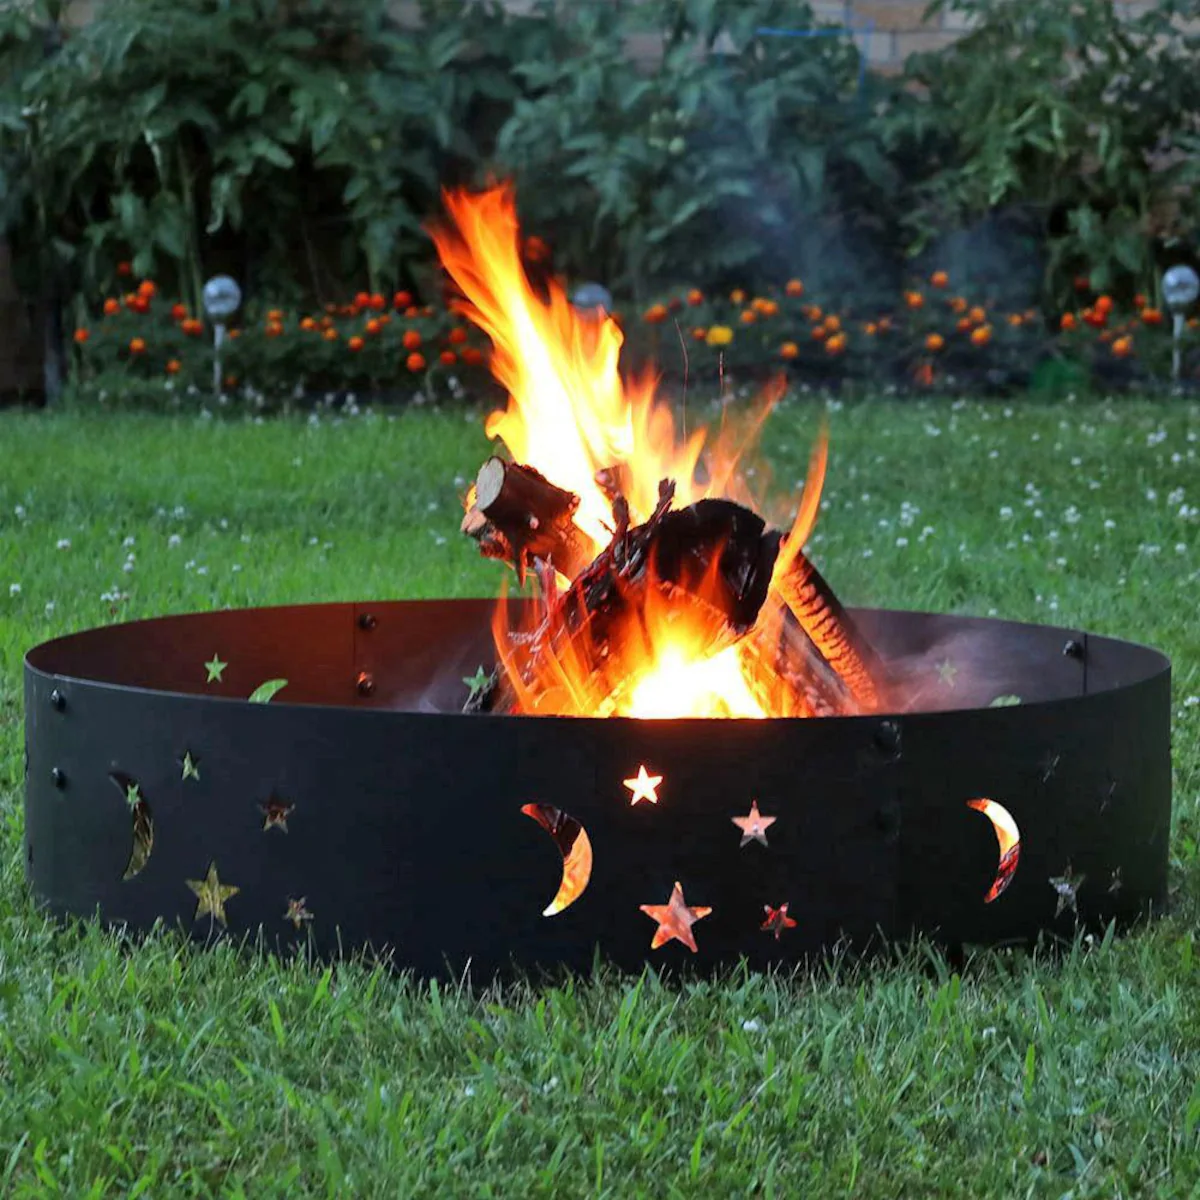
- Set Up Your Fire Pit: Use the metal fire pit or container, place it on bare earth or a fire-resistant surface like concrete.
- Create a Safety Zone: Place larger stones around your fire pit to clearly mark the safe boundary.
- Prepare Fire Extinguishing Tools: Keep a bucket of water, garden hose, or fire extinguisher nearby for safety.
Building Different Types of Campfires
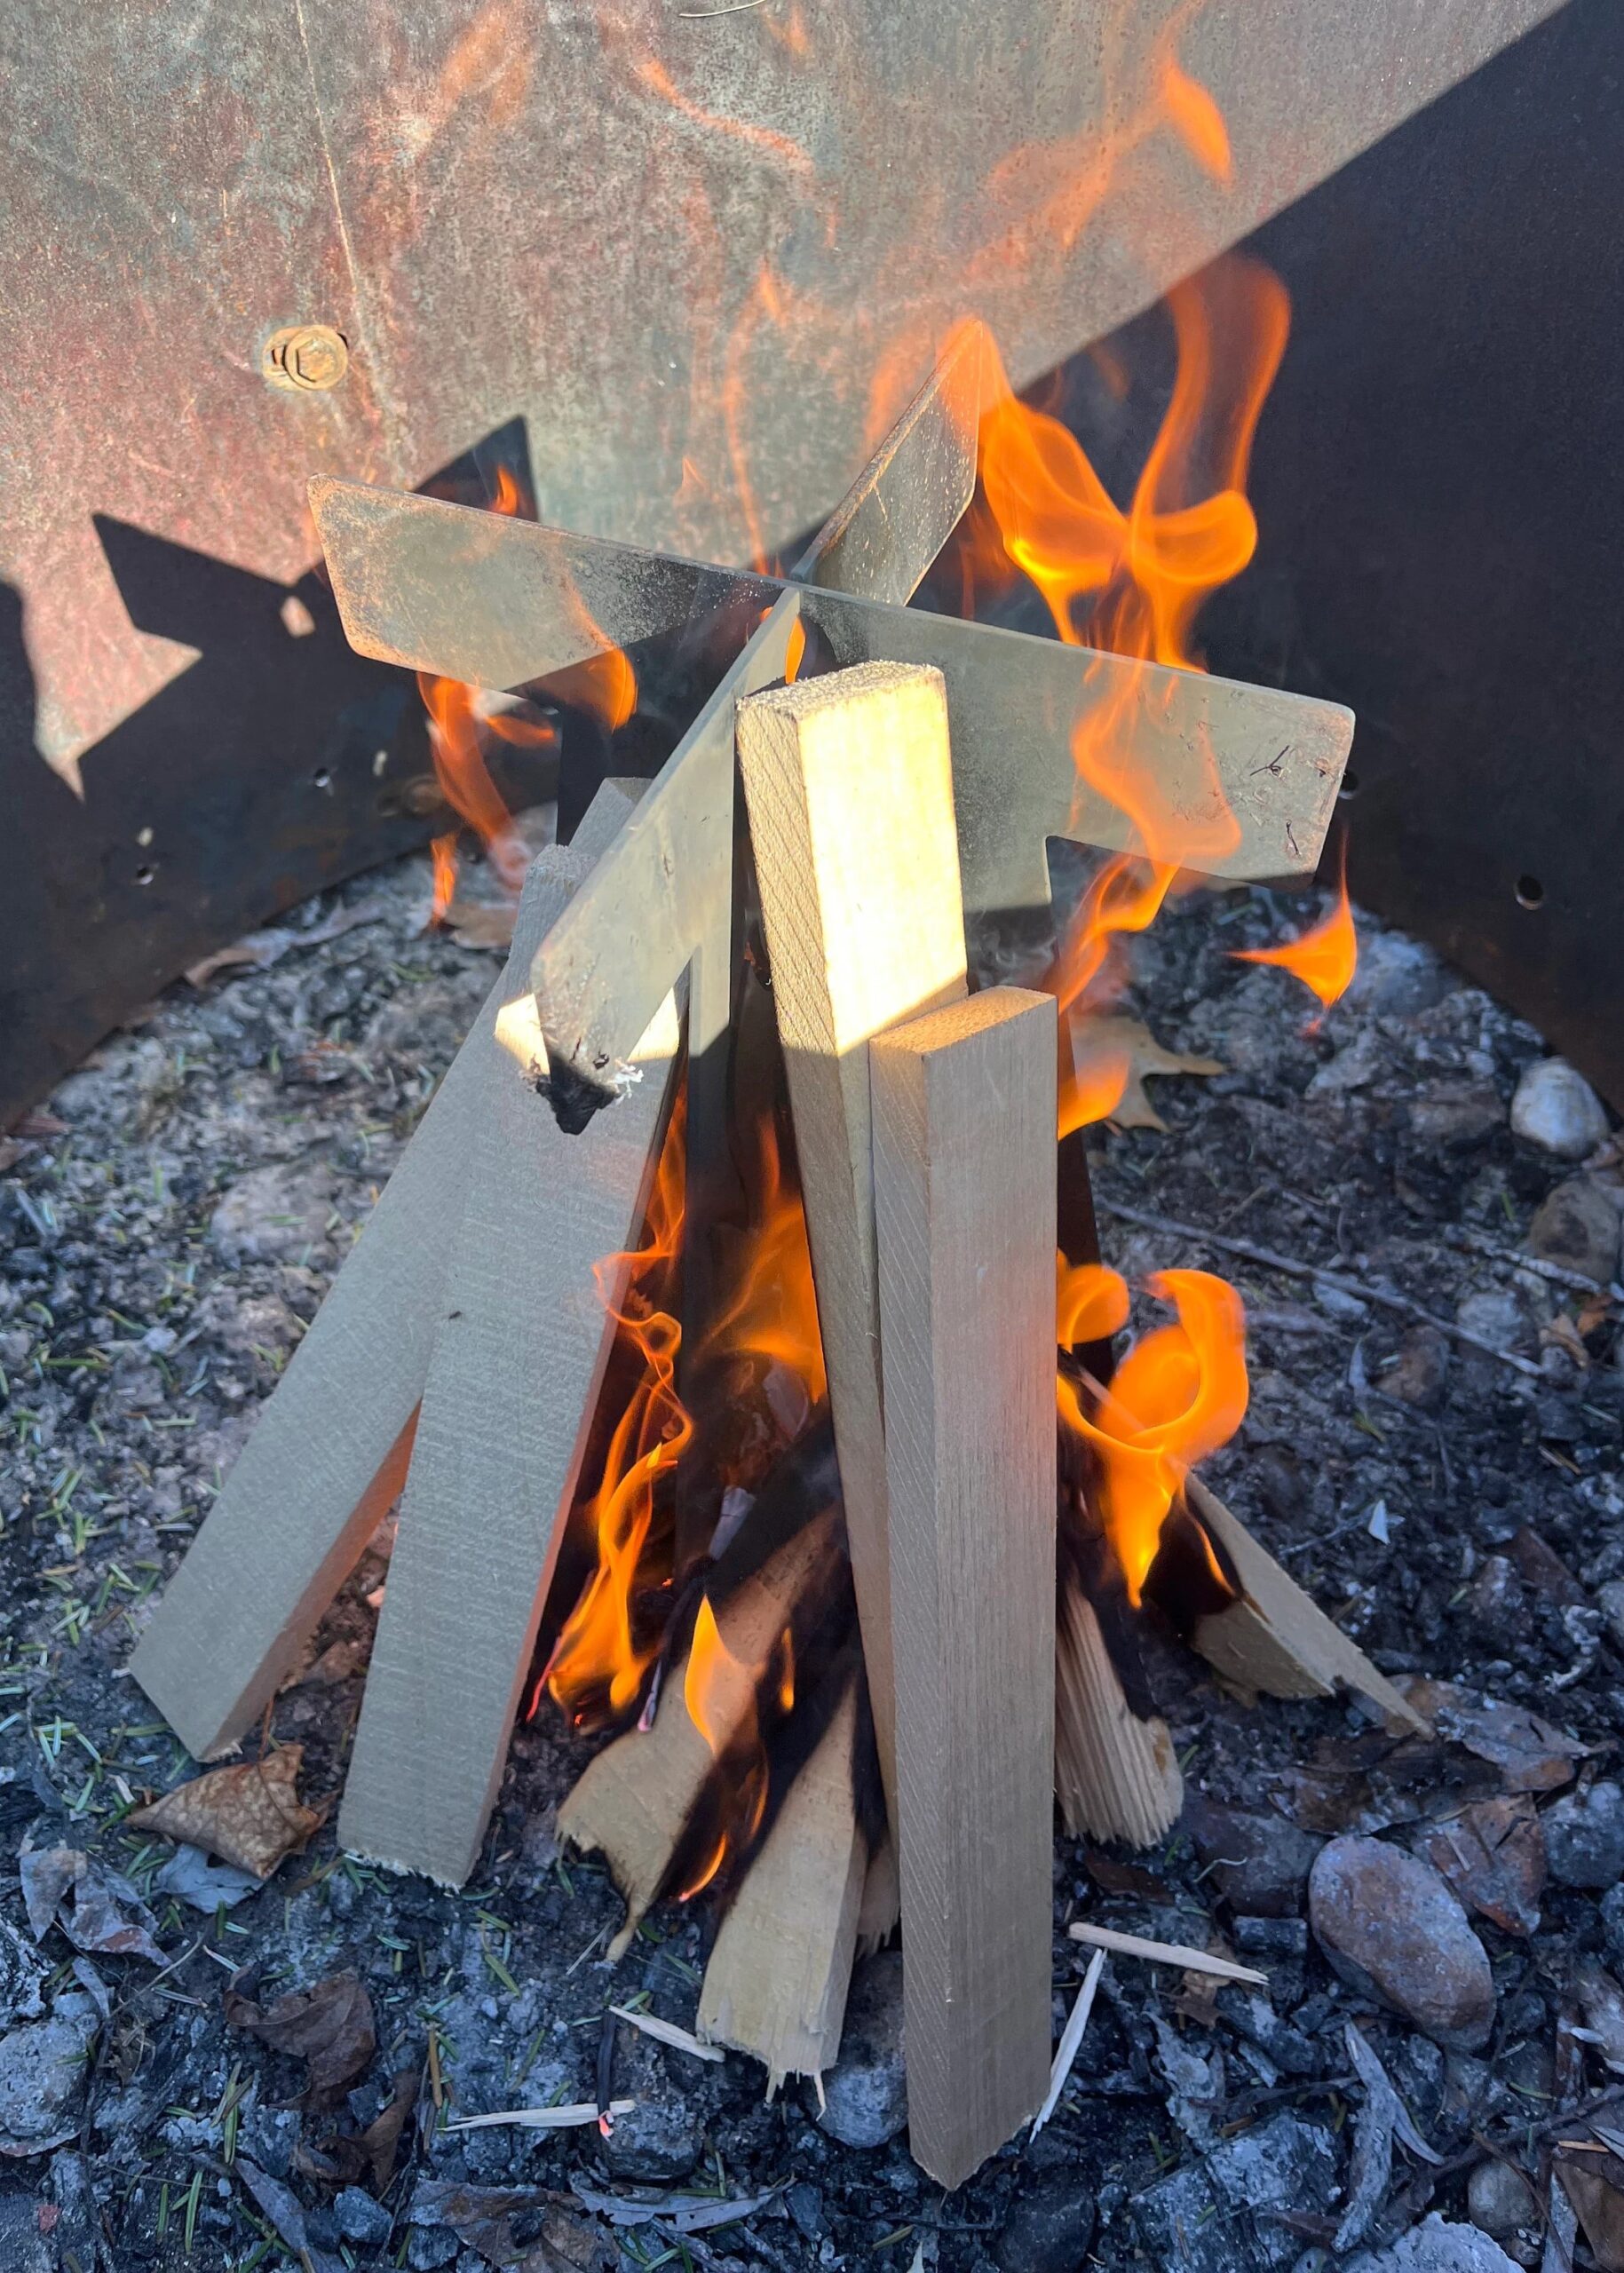
Tepee Fire: Best Used For: Quick cooking, providing warmth, and easy to start.
Setup Process:
- Tinder: Place dry leaves, paper, or bark in the center.
- Kindling: Arrange small sticks in a cone shape around the tinder.
- Firewood: Add progressively larger logs around the kindling, maintaining the cone shape.
- Light the tinder with matches or a lighter. As the tinder ignites, it will catch the kindling on fire, which will then ignite the larger logs
Characteristics:
- Quick to ignite
- Provides concentrated heat
- Good for boiling water or cooking with a single pot
Log Cabin Fire: Best Used For: Longer-lasting fire, stable cooking surface.
Setup Process:
- Tinder: Place in the center of the structure.
- Kindling: Create a base by laying two larger logs parallel to each other with space between them.
- Firewood: Stack additional logs in a cross-pattern on top of these logs, creating walls around the tinder.
- Light the tinder in the center. The flames from the tinder will catch the kindling and then spread to the larger logs, creating a steady fire.
Characteristics:
- Provides a flat surface for cooking
- Burns longer with less maintenance
- Good for group cooking or sustained heat
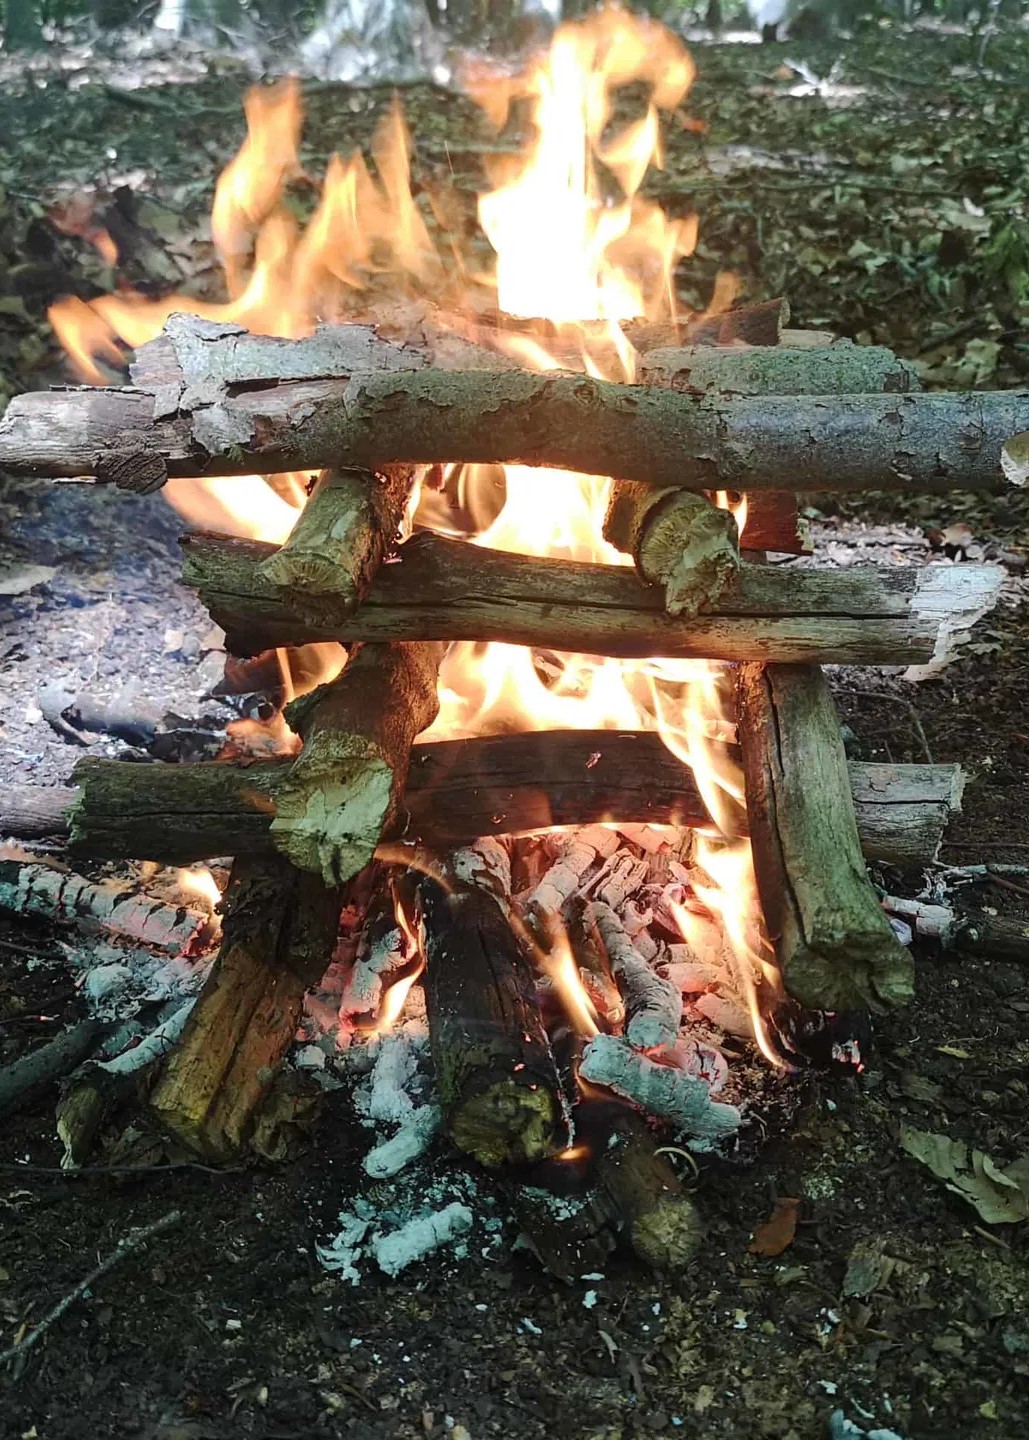
Upside Down (Pyramid) Fire: Best Used For: Long-burning fire with minimal maintenance.
Setup Process:
- Firewood: Start with the largest logs at the bottom.
- Progressively Smaller Logs: Layer smaller logs on top, creating a pyramid shape.
- Tinder and Kindling: Place on top of the structure.
- Light the tinder and kindling at the top. The flames will burn downwards through the smaller logs and into the larger ones below, providing a long-lasting fire.
Characteristics:
- Burns from top to bottom
- Requires minimal tending
- Provides consistent, long-lasting heat
- Ideal for overnight camping or when you need sustained warmth
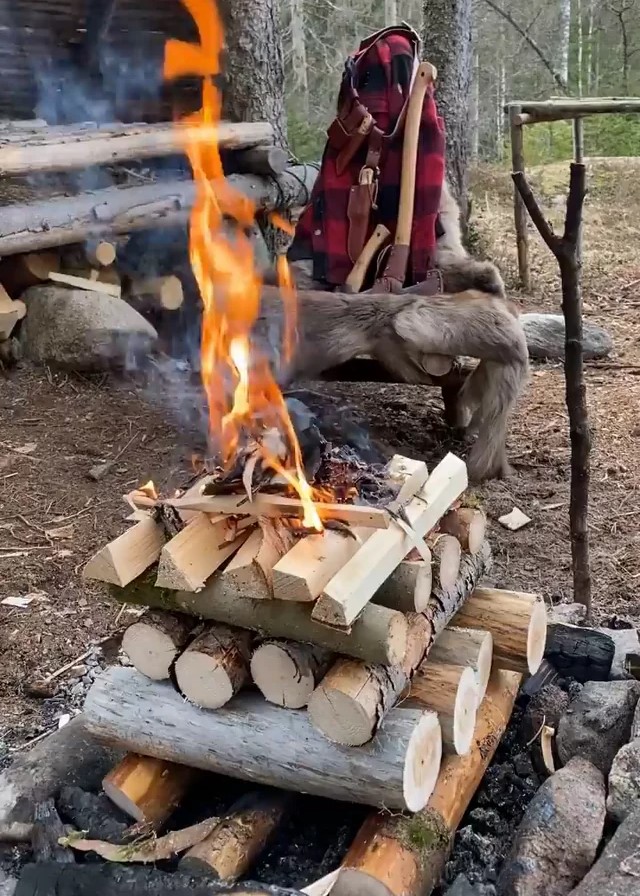
You can use this fire to stay warm or cook by simply placing the grill grate you used when boiling water over the flames and setting your portable pot on top to prepare your meals.
As you practice building these fires, pay attention to how each type behaves. Note how long it takes to establish each fire and how they burn.
Safety Precautions
- Use a Designated Fire Pit: Always build your fire in a designated area or container; never build directly on the ground.
- Clear Flammable Materials: Ensure the area around your fire pit is clear of dry leaves, grass, or other flammable materials.
- Keep Water Nearby: Always have a bucket of water or a garden hose ready to extinguish the fire if needed.
- Never Leave Unattended: Always have someone present to monitor the fire at all times.
- Properly Extinguish Fires: When it’s time to put out the fire, pour water on the embers and stir them until cool to the touch.
Mastering shelter, water, and fire is crucial for any camping experience. By practicing these skills at home, you’ll build confidence and ensure you’re ready to tackle the challenges of the great outdoors. With these foundational skills in your toolkit, you can fully embrace the joys of camping while being equipped to handle whatever nature throws your way. Happy camping!

